Saturday, August 17, 2013

Teacloth!

This is a teacloth pattern, inspired by the biscuits on my desk, and how tea is a very nice beverage. This pattern went through a lot of stages! My whole idea was to have scattered biscuits and tea items on a sheet, the way they should always be shared.

1. First I coloured the items.


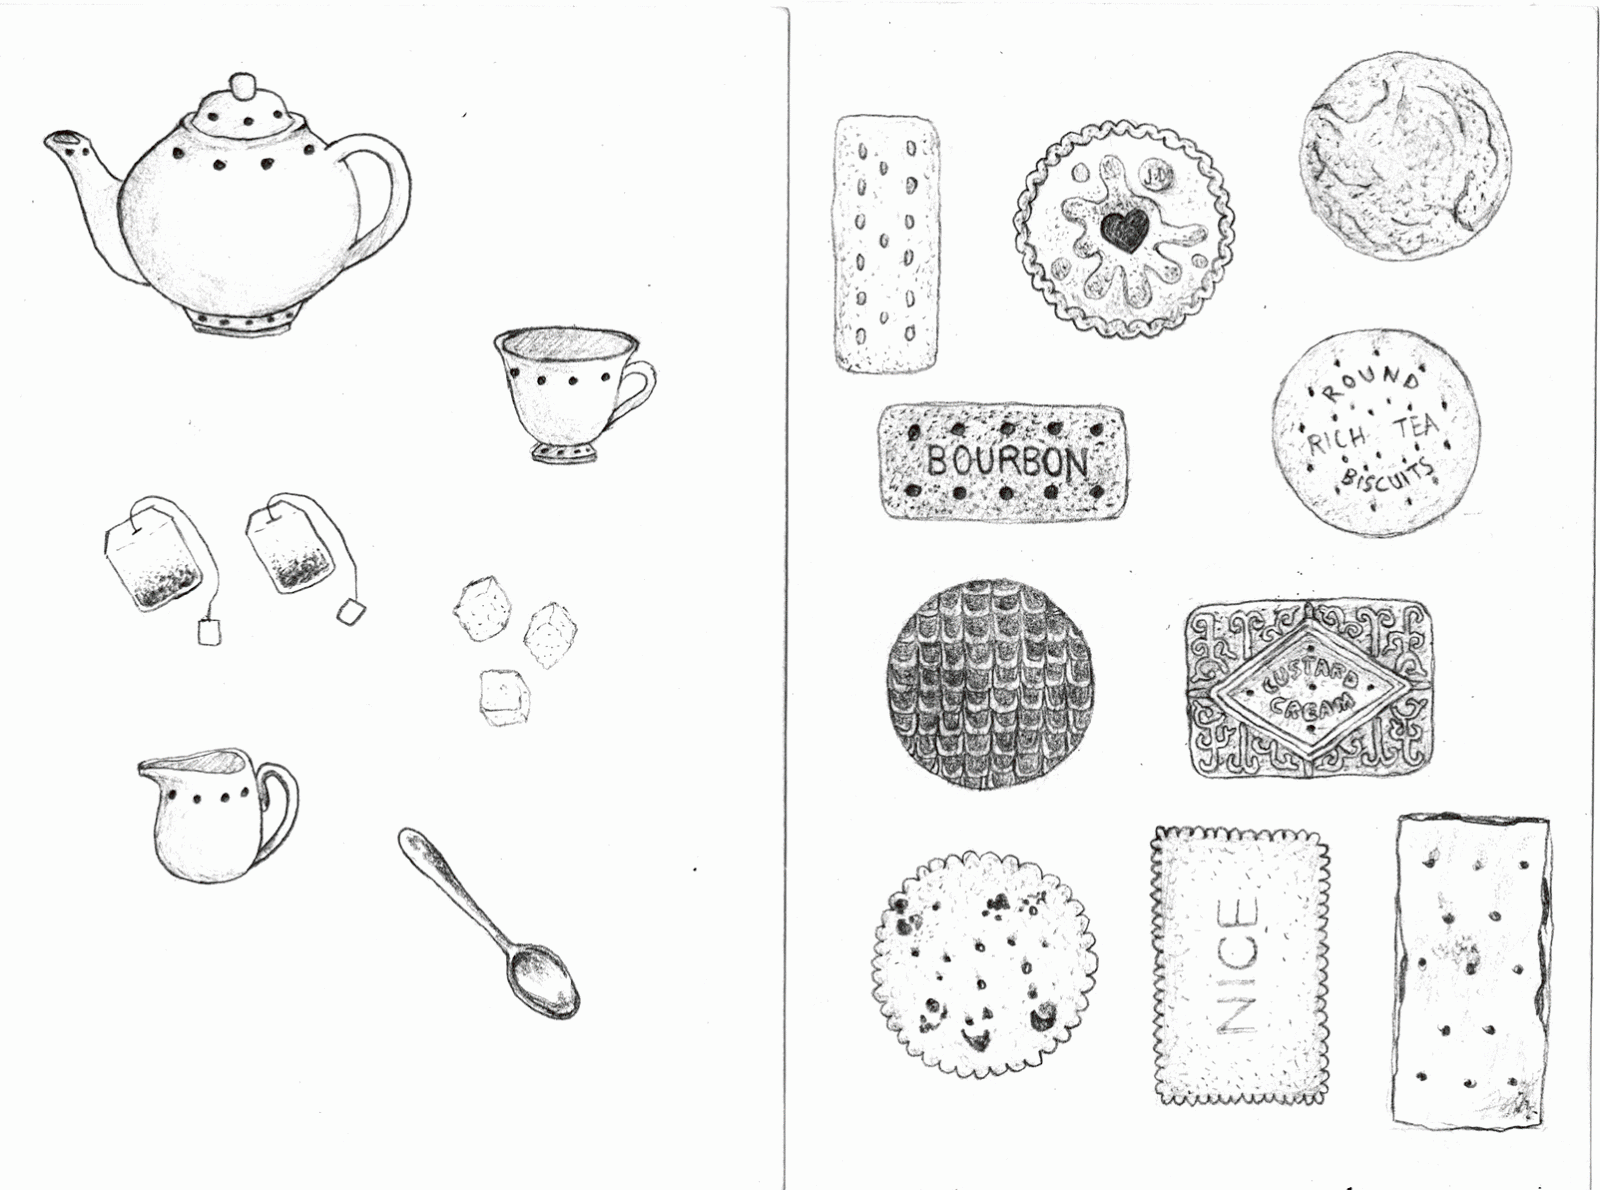
2. Then I had to arrange them, which took a lot of bother as my roughs didn’t correspond with Photoshop’s rulers and guides, making very uneven tiles. You can see that I have 2 types; the former items are quite apart from each other, the second I made the items closer together.


3. At this point I knew that green colour was not right, and I began putting down lots of different colours to see how it worked. I chose green to be fresh and cheerful, but it didn’t make the items ‘pop’. So after lots of colour changes (purple - girls playroom, pink - dollhouse, blue - dulls it completely etc.), I settled on the most obvious choice - tea-coloured brown!


4. I had done the wide-spaced tile before developing the close-spaced one, so the negative space did bug me for a while, so I put down a simple tablecloth pattern, something flowery and reminiscent of gardens. It helped to conceal the negative space, but it also adds another layer, making it seem busy. However, when I did the same on the close-knit tile (below), the pattern seemed to bond well.

Here is the final group tile, in all its tea-inspired glory!

I must explain that the reason for the close-spaced and wide-spaced single tiles was me playing around with the aesthetic. I was finishing these up to about midnight, and I realised that when I did tile them in a group of 4, the amount of negative space was quite obvious. So I tucked them a little closer to see the effect, and I do prefer the latter. The biscuits don’t feel so lost, they’re bold and not swimming in a brown sea.

Monday, August 12, 2013

Cat wallpaper/tiled pattern


My very good friend Sammi, a wonderful animator, and I had a small chat about cats in costumes, and I could see them in my head quite clearly. Now, I love drawing cats - they are graceful and so flexible, and they're even better in clothes! I drew 6 cats, edited them started to work them into a tiled pattern. I had absolutely no experience with this at all - but first time for everything. I know now that it wasn't as straight-forward as I thought! I ended up with a lot of negative space, and I didn't know how to fit everything I wanted into it. In the end, I think I managed a pleasant layout - still got a lot to learn - but I do like the colours, and it was a fun experiment.


 ---
Update: This has been featured on Pussies on Parade; very exciting!


The Grid Method: Jennifer Lawrence portrait


I was asked once, how to draw. Drawing is complicated...where do you start? There are many ways I begin drawing, and this is (I find) easiest when drawing from a photo. It is not the same as drawing from life, unless you have a camera obscura. Personally I prefer drawing from life, but I use the Grid Method when I do large-scale pieces (I don't have a projector) as it helps keep everything in proportion.

The Grid Method is an Old Masters method and there are pros and cons.
Pros are - with a grid, it is hard to go astray, and you will have a successful drawing if you have the patience and you draw an accurate grid. This is good because you will be encouraged to keep drawing. You will start to notice that shapes are very important, as well as lighting and shadows. Grids can help you focus on small parts at a time; very good for a novice.

Cons are - you will be limited to drawing from photos/images. This is not bad if you are setting up your own photos, and are thinking about composition - but copying others' photos (like this one here) restricts creativity. You do not get the same knowledge of how things are in real life (figure anatomy, how apples are actually quite knobbly etc.), and I strongly encourage you to work from life.

Nethertheless, here is the Grid Method. Individual images can be found here.